
You had a few areas of stucco repaired, the work was careful, and the patches still show from the sidewalk: a slightly different shade, a different texture, a halo around the edges. On Philadelphia facades with decades of weathering and older repairs layered in, this is a common frustration.
Sometimes the answer is a better patch. Sometimes spot repairs will never disappear on that wall, and the right move is a new finish coat across a full wall section. Here is how to tell the difference, what a full finish coat involves, and why curing matters as much as the color mix.
Matching sand, dash or smooth textures in a patch is only part of the job. This article covers what to do when matching alone is not enough.
Why Patches Show Even When the Work Is Good
A patch can be structurally sound and still visible. The usual reasons:
- The original wall has weathered. Sun, rain, dirt and years of runoff change the surface. Fresh material, even mixed to the same recipe, starts at a different point.
- Texture is a hand skill. The float, trowel or dash pattern of the original plasterer is hard to reproduce exactly, especially at the edge where new meets old.
- Smooth finishes are unforgiving. A smooth or fine sand finish shows every difference in sheen and flatness.
- Moisture and curing differ. New material dries at a different rate than the wall around it, and uneven curing can leave a patch darker, lighter or blotchy.
- Earlier repairs are already on the wall. Many older stucco elevations already carry patches from different decades, each with its own color and texture.
The National Park Service’s Preservation Brief 22 on historic stucco makes the same point directly. It notes that heavily textured finishes tend to conceal patches, but that on smooth-finished stucco, patching a number of small scattered areas over one elevation may not be successful unless the stucco is painted or will be painted after the repair, because those patches are hard to conceal. The brief also recommends keeping repairs to a contained, well-defined area or squaring them off to follow existing scoring, and says that in some highly visible locations it may be preferable to restucco an entire wall section or feature so differences are less apparent.
Spot Repair, Finish Coat or Something Bigger
It helps to think of three levels of work.
1. Spot repair
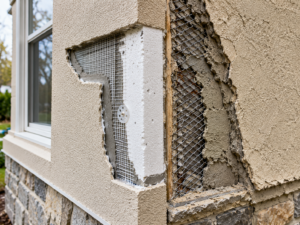
Damaged stucco is cut back to sound material, the base is rebuilt in layers, and a finish coat is applied only over the repaired area. This is the right choice when damage is limited, the wall has a forgiving texture, and the repair can be placed at a natural break such as a corner, a scoring line or a trim edge.
2. Full finish coat over a wall section
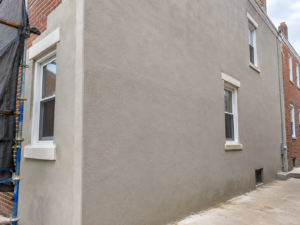
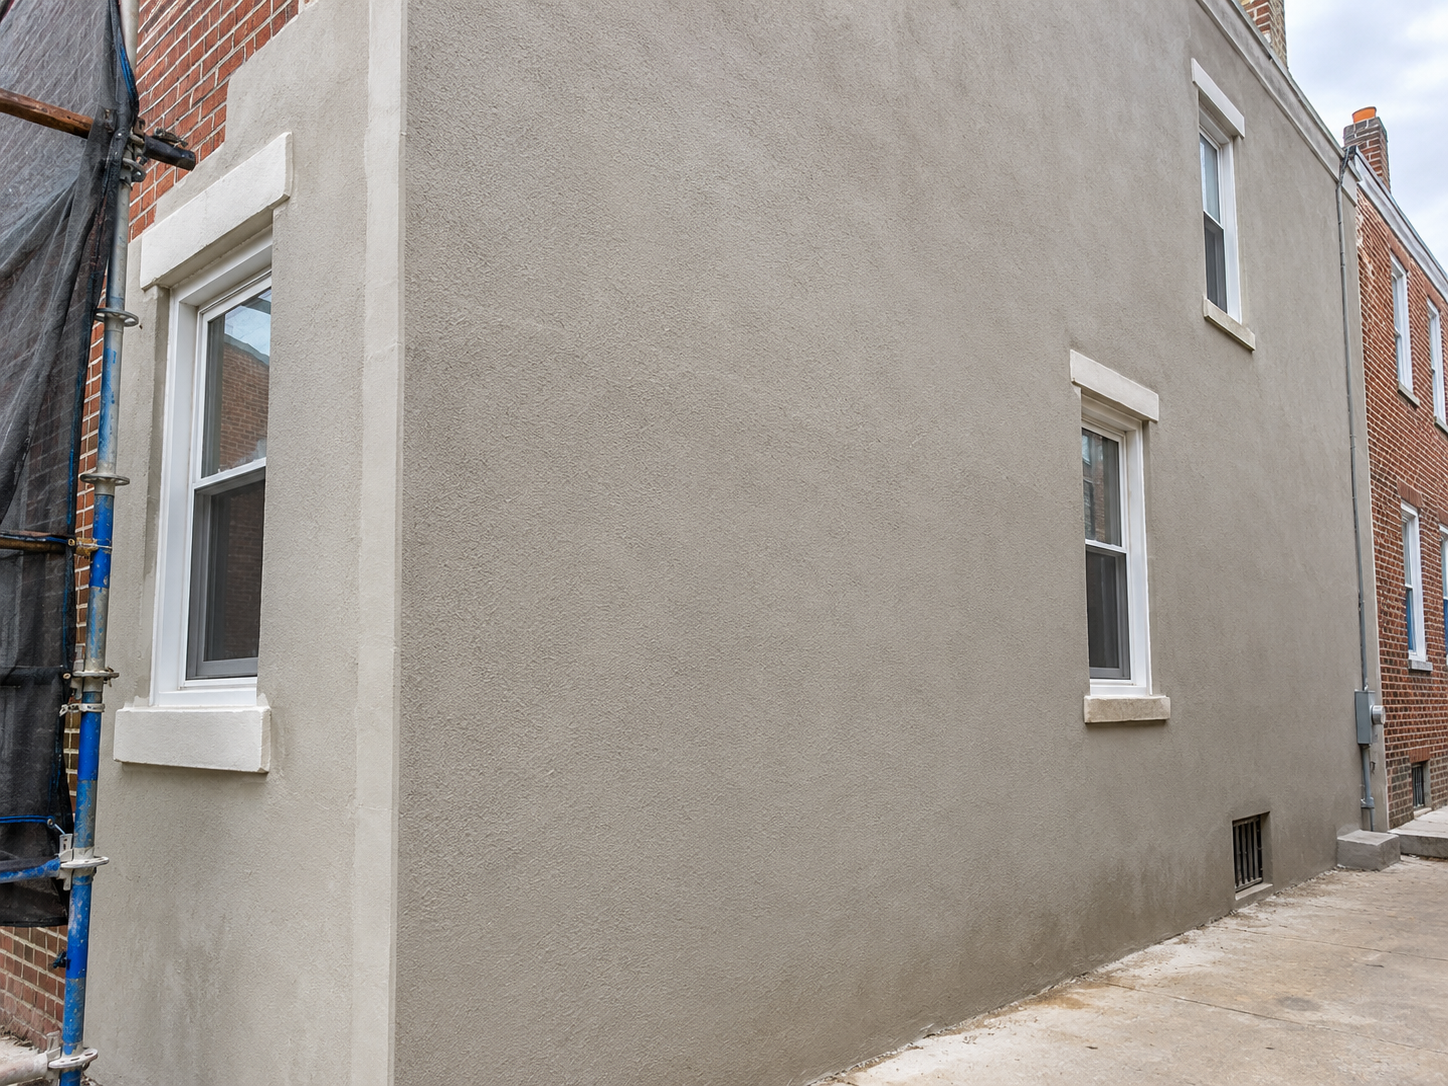
All necessary repairs are made first, then a new finish coat is applied across the entire wall, from one natural break to the next. The repairs become invisible because the whole surface now has the same material, texture and age. This is often the better option when:
- There are several patches scattered across one elevation.
- The finish is smooth or fine sand, where differences are obvious.
- The wall already has a patchwork of older repairs.
- The facade is highly visible from the street, as most Philadelphia front walls are.
3. Remediation
If testing or inspection shows moisture damage behind the stucco, failed lath, rotted sheathing or widespread loss of bond, a finish coat is not the answer. Re-coating a wall with hidden water problems only covers them up. The Preservation Brief notes that complete replacement is usually only necessary with extreme deterioration, such as loss of bond over roughly 40 to 50 percent of the surface, or when prior incompatible repairs have compromised the wall so badly that patching will not work.
Fix the Cause Before You Re-Coat
A new finish coat is a surface solution. It should never be the first step. The NPS brief advises that after the cause of deterioration is identified, related repairs, such as roof, gutter, downspout and flashing work, drainage improvements and redirecting runoff away from the building, should be made before the stucco itself is repaired.
On Philadelphia rowhomes and twins, the usual checks before re-coating include:
- Gutters and downspouts that overflow onto the wall.
- Parapet caps, copings and roof edges where water enters from above.
- Window sills, heads and openings where cracks and stains often begin.
- Hollow-sounding or bulging areas that indicate loss of bond.
- Cracks that keep reopening, which may point to movement rather than surface wear.
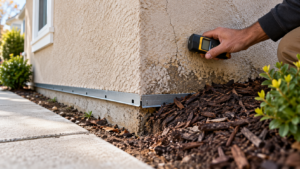
Sounding and probing the wall shows whether it needs only a uniform finish or deeper repair first.
What a Full Finish Coat Involves
The details vary by the existing system and finish, but a careful re-coat generally follows this sequence:
1. Assess and repair. Loose, cracked and hollow material is removed and rebuilt so the base is sound.
2. Define the boundaries. The new coat runs to natural stops: corners, trim, scoring lines, control joints or changes in plane. Stopping in the middle of an open wall creates a new visible line.
3. Prepare the surface. Dirt, biological growth, loose coatings and contaminants are cleaned off so the new coat can bond. Depending on the existing surface, a bonding agent or dampening may be part of preparation.
4. Test samples. Small sample areas let you compare color and texture before committing the whole wall.
5. Apply in one continuous operation. Each wall section is finished without stopping partway, so there are no cold joints or lap marks.
6. Cure under control. The new coat is protected from sun, wind and rapid drying.
Our stucco installation and repair services cover both spot repairs and full finish coats, and we recommend one or the other based on what the wall actually needs.
Curing and Timing: Where Many Re-Coats Go Wrong
Curing is the part homeowners do not see, and it has a large effect on how the finished wall looks and lasts. Cement-based stucco gains strength as it hydrates, and drying too fast can cause cracking, poor bond and uneven color.
The NPS Preservation Brief gives several practical guidelines for traditional stucco work:
- Each coat usually needs about 24 to 72 hours, and longer in cold weather, to dry before the next coat is applied.
- To prevent cracking, stucco should not dry too fast; the work area should be shaded or covered if possible, particularly in hot weather.
- In hot weather, keeping newly stuccoed areas damp for 48 to 72 hours is recommended.
- Stucco repairs should not be done below 40 degrees Fahrenheit, preferably warmer, or when there is danger of frost.
- Over-mixing can cause crazing and discoloration, especially in tinted mortars.
Manufacturer instructions for the specific products govern actual cure times. For Philadelphia homeowners, late fall and winter re-coats need careful scheduling, and rushing a finish coat onto an uncured base builds in future problems.
Finish Coat vs Elastomeric or Paint Coatings
Some homeowners ask whether a coating would do the same job as a new finish coat. They are different tools. A finish coat is new stucco material that becomes part of the wall. A coating sits on top of it. Coatings can unify color and, depending on the product, add some crack bridging, but they do not change texture and they must be compatible with the wall’s ability to dry. Once a wall has been painted, future patches and re-coats need to account for that coating.
Historic Properties and Permits
If your home is individually designated or sits within a historic district, exterior stucco work has extra steps. The City of Philadelphia’s L&I residential permitting presentation states that for historically designated properties a permit is required for all exterior work, even if typically exempt, and that Philadelphia Historical Commission approval is required. The Philadelphia Historical Commission maintains the Philadelphia Register of Historic Places and reviews building permit applications. Check designation status early, before choosing a finish, color or scope.
Get an Honest Recommendation for Your Wall
If your stucco patches keep showing, the answer may not be another patch. Philadelphia Stucco Experts LLC evaluates the wall first, fixes what is driving the damage, and then recommends either targeted repair or a full finish coat to a natural break. Learn more about our stucco repair and installation work in Philadelphia and contact us to schedule an evaluation of your facade.
Frequently Asked Questions
Should I re-coat the whole wall or just patch the damaged areas?
If damage is limited and the texture is forgiving, a spot repair placed at a natural break can work well. If there are several patches across one visible elevation, or the finish is smooth, a full finish coat over the wall section usually gives a more uniform result.
Why do stucco patches show after they dry?
Fresh material starts at a different color and age than the weathered wall around it, texture is hard to reproduce exactly, and uneven curing can change how a patch looks. Smooth finishes show these differences most.
How long does stucco need to cure before a finish coat?
For traditional stucco, the NPS Preservation Brief 22 says each coat usually needs about 24 to 72 hours, longer in cold weather, before the next coat. The specific products used and manufacturer instructions determine the actual timing.
Will a new finish coat fix moisture problems behind the stucco?
No. A finish coat is a surface treatment. If there is water damage, failed lath or loss of bond behind the stucco, those conditions need to be investigated and repaired first.
Do I need approval to re-coat stucco on a historic Philadelphia home?
According to the City’s L&I residential permitting guidance, historically designated properties need a permit for all exterior work and Philadelphia Historical Commission approval. Confirm the property’s status before planning the work.